Alright, here’s the real deal: if you want a timber floor that actually turns heads…
If you want a timber floor that actually turns heads (and doesn’t make you regret your life choices), prep work is where the magic starts. Seriously, don’t even think about slapping on that fancy finish until you’ve dealt with every scratch, crumb, and weird sticky patch from the last decade. People always focus on the shiny topcoat, but let’s be honest—if your base is a mess, the final look will be, too. No shortcuts. No, “she’ll be right.” Not unless you love disappointment.
Let’s talk about what happens when you ignore proper prep.
You get weird streaks, blotchy patches, and every little flaw jumps out like it’s screaming for attention. Instead of a smooth, magazine-worthy timber floor preparation in Auckland, you’re stuck with something that looks like you sanded it with a brick. And don’t get me started on durability. If the finish can’t stick properly, it’ll peel or bubble, and then you’ll be shelling out cash for fixes way sooner than you thought. Pro tip: do it right once, or keep paying for it forever.
So, how do the pros in Auckland actually do it?
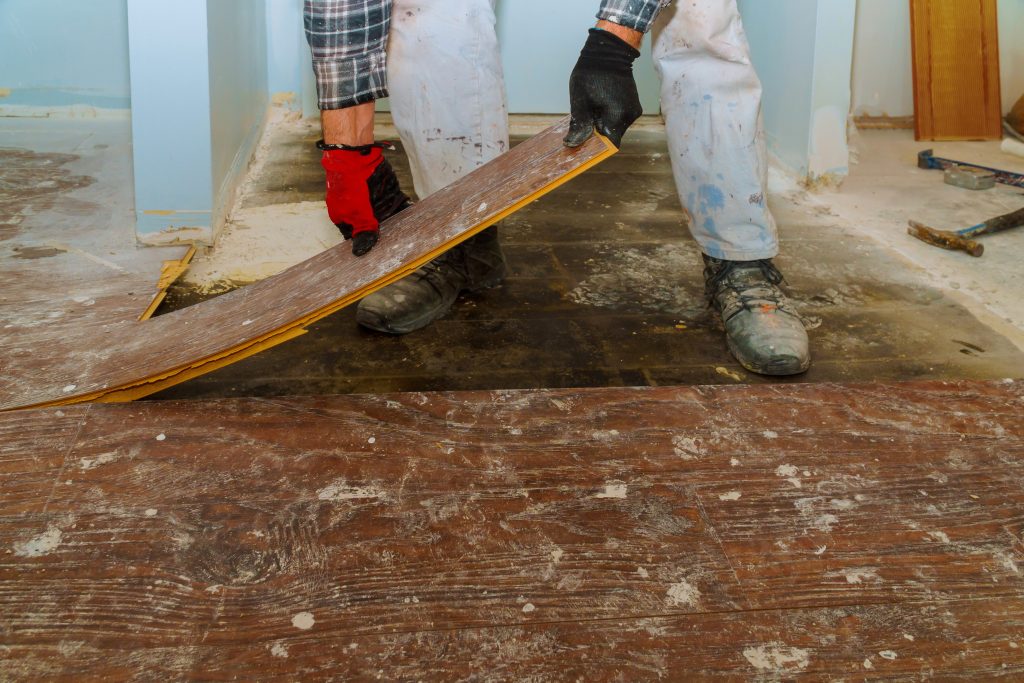
First up: a good inspection and clean
Everything has to go—dust, old polish, that sticky stuff your kid dropped.
Then comes sanding
Not just a quick once-over, either. We’re talking multiple passes, from rough grit to smooth-as-glass. That’s how you get that floor varnishing in Auckland that everyone wants. Sometimes folks throw in extra treatments at this stage—especially if they’re after that ultra-glossy or trendy matte vibe.
Next, they fill in all the gaps.
Cracks and random nail holes get filled with something that matches the wood. You want a floor, not a patchwork quilt.
When that’s done, every speck of dust has to vanish.
Any leftover dust and, boom, you’ve ruined your perfect floor before it even starts.
Thinking about tackling this yourself?
Here’s what to know: clear the room—no cheating, move EVERYTHING. Make sure you’ve got airflow unless you like breathing in sawdust. And don’t just pick a finish because it looks good in pictures; think about your life, your pets, your tendency to drop things.
Bottom line: the best floors start with proper prep.
Skip it, and you’re just asking for trouble. You want results that last, look killer, and won’t have you cursing in six months? Bring in pros who actually know their stuff. In Auckland, Floorsanding NZ is basically the go-to. Trust me, your future self—and your feet—will thank you.